Winter can be a challenging season for ranchers. Shorter days, colder temperatures, and reduced pasture growth mean that maximizing available forage is critical to maintain herd health and reduce feed costs. Fortunately, ranchers have several strategies to extend the grazing season, from stockpiling forage to using cover crops and crop residues. Modern technology, like Barn Owl remote cameras, can further optimize these strategies by monitoring livestock and pasture use in real time — helping ranchers make smarter, data-driven decisions all winter long.
Why Extending the Grazing Season Matters
The winter months often require supplemental feeding, which can account for a significant portion of annual ranching costs. By extending the grazing season, ranchers can:
Reduce hay and feed expenses
Maintain herd condition naturally
Decrease labor and fuel costs associated with supplemental feeding
Improve soil health through managed grazing
Stockpiled forage — grasses allowed to grow in the fall and conserved for winter grazing — is one of the most effective tools. Other strategies include planting cover crops like oats, turnips, or cereal rye, which provide nutritious grazing later into the season. Crop residues, such as corn stalks or soybean stubble, can also be utilized to keep livestock productive without additional purchased feed.
Using Barn Owl Cameras to Optimize Pasture Management
One of the challenges in winter grazing is knowing how effectively animals are using the pasture. Overgrazing certain areas or underutilizing others can lead to wasted forage and uneven pasture recovery in the spring. This is where Barn Owl cameras come in.
Key Benefits:
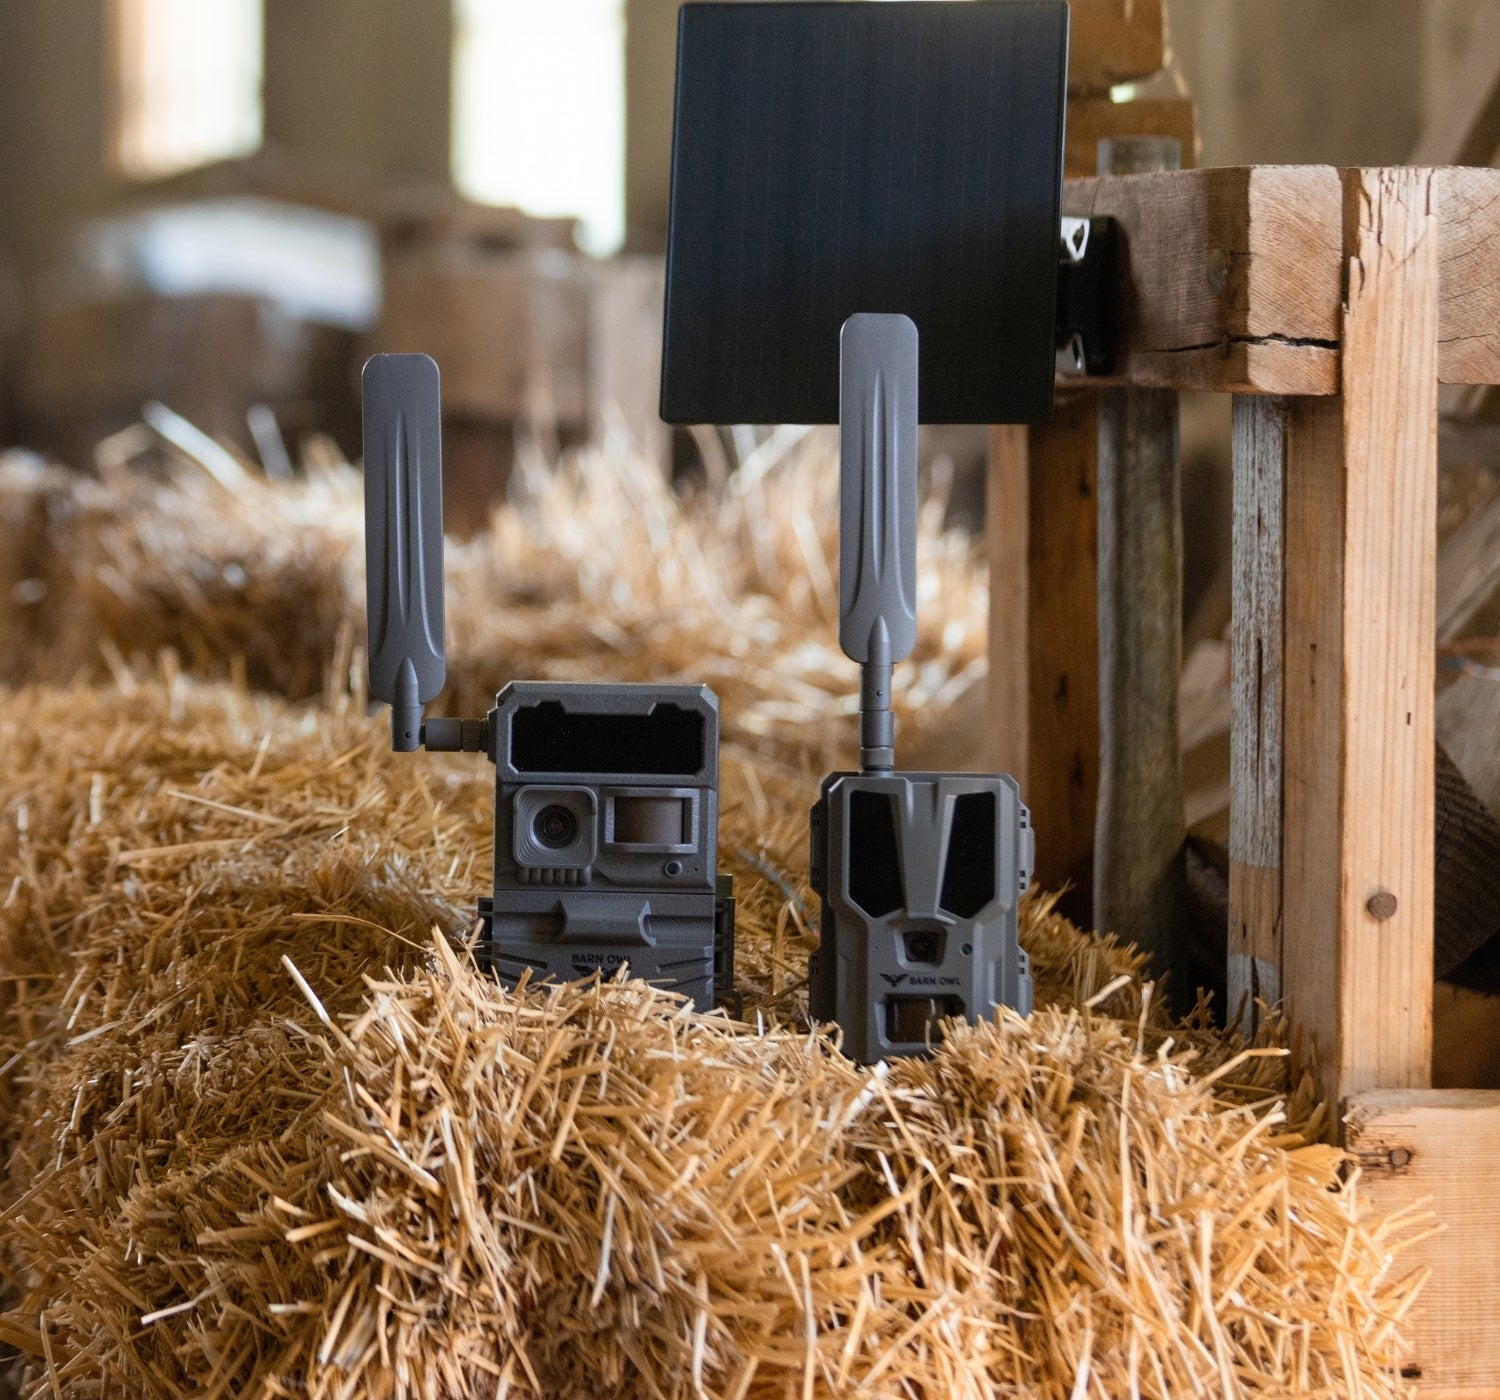
Monitor Herd DistributionBarn Owl cameras allow ranchers to observe herd movement remotely. By placing cameras at key locations in the pasture, ranchers can see which areas are being grazed and adjust rotation schedules accordingly. This helps extend the grazing season by making sure stockpiled forage is used efficiently.
Reduce Labor and FuelInstead of driving the ranch multiple times a day to check on the herd, ranchers can monitor grazing patterns from a smartphone or computer. Barn Owl’s RangeCam 2 provides real-time video and alerts, so ranchers know exactly when and where their cattle are moving — reducing unnecessary trips in icy or muddy conditions.
Protect Forage QualitySome pastures may have sections better suited for grazing later in the season. With Barn Owl cameras, ranchers can track how cattle interact with these areas, ensuring forage isn’t overused too early and is available for peak nutritional periods.
Implementing a Winter Grazing Plan
Here’s a step-by-step approach for extending your grazing season with Barn Owl technology:
Identify Pastures for StockpilingSelect fields with the highest yield potential and ease of access. Let grasses grow through the fall without heavy grazing.
Rotate and Monitor LivestockUse Barn Owl cameras to check which pastures are being grazed and which are underutilized. Rotate cattle accordingly to maximize forage use and prevent overgrazing.
Incorporate Cover Crops and Crop ResiduesPlant winter-hardy cover crops in underused fields or leave crop residues available. Monitor grazing behavior remotely to ensure animals are accessing these areas efficiently.
Track Herd Health and Feeding EfficiencyObserving herd movement with Barn Owl cameras can also alert ranchers to abnormal behaviors that may indicate stress or illness — especially critical in winter when conditions can worsen quickly.
Adjust Based on Real-Time DataUse the insights gained from camera monitoring to refine pasture rotations and feeding schedules. Over time, you’ll be able to predict forage availability and optimize grazing plans for maximum efficiency.
Conclusion: Smarter Winter Grazing with Technology
Extending the grazing season is not just about having more forage; it’s about managing it effectively. Stockpiled forage, cover crops, and crop residues all play a role, but without proper monitoring, even the best plans can fall short. Barn Owl cameras provide ranchers with a powerful tool to track herd behavior, monitor pasture usage, and make informed decisions — all while saving labor, time, and fuel.
By combining traditional grazing strategies with modern technology, ranchers can keep their herds healthy, their pastures productive, and their operations efficient — even in the coldest months of the year.